I’m going to lay out the groundwork for any beginner eager to capture the mesmerizing dance of the Northern Lights, also known as the Aurora Borealis. The experience is truly magical, but photographing the phenomenon can be a bit tricky if you’re not prepared.
Before we jump in, it’s crucial to understand what the Northern Lights are. They’re the result of solar particles colliding with atmospheric gases, creating a brilliant display of light in the sky. Typically seen in high-latitude regions, these lights are not just a visual spectacle but also a scientific wonder.
You’ll need the right gear to photograph the Northern Lights. A camera with manual mode capabilities, a wide-angle lens for epic sky shots, and a sturdy tripod are non-negotiable. You won’t regret spending time choosing the right equipment; it can make or break your aurora photography experience.
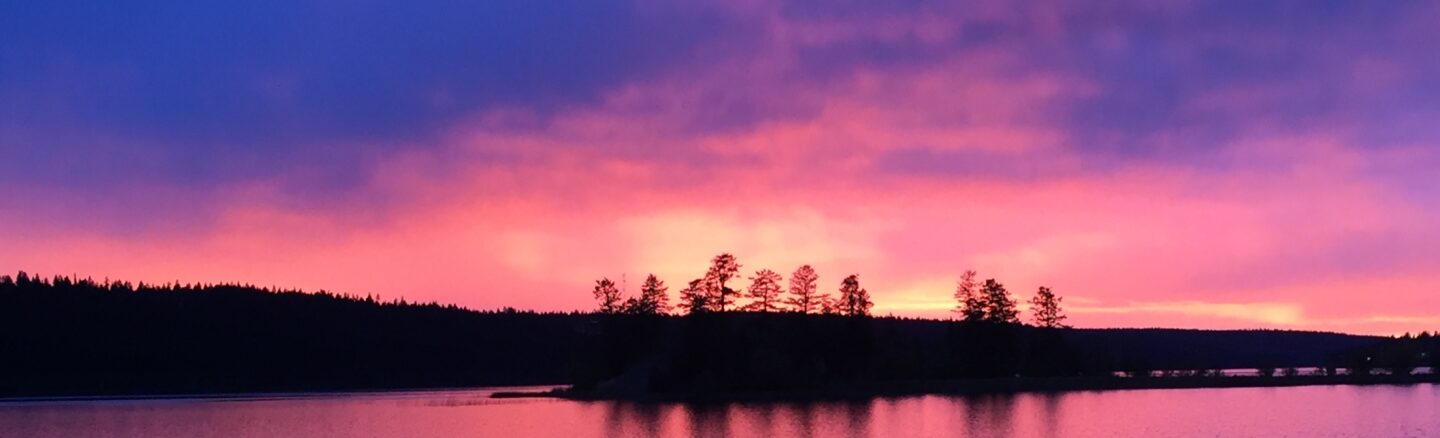
Finding a dark location away from light pollution is your next step. Seek out a place with unobstructed views of the northern horizon, and if you can, position yourself near reflective surfaces like lakes or fjords that can add a magical dimension to your photos with their mirror-like qualities.
Timing is also a key factor. The Auroras are known for their unpredictable nature, but late fall to early spring usually provides better chances to witness this natural light show, especially during peak solar activity.
Let’s get technical for a moment. To capture the Northern Lights, your skills in long exposure photography will be put to the test. We’re talking about shutter speeds of several seconds to minutes, ISO settings that control the camera’s sensitivity to light, and apertures wide enough to let in as much light as possible.
Beyond the Basics: Advanced Tips for Captivating Aurora Photography
You’ve got the basics down, you’re all set with the right gear, and you’ve practiced shooting in the dark; now you’re ready to take your Northern Lights photography to the next level. To capture truly breathtaking images of this natural phenomenon, you’ll need some advanced strategies under your belt. I’m here to help you with that.
When it comes to forecasting the lights, several apps and online tools can be your best friends. Real-time aurora forecasts, solar wind data, and geomagnetic activity reports can pinpoint the best times for aurora photography with remarkable accuracy. Choose something that resonates with you and aligns with your tech comfort level. My Aurora Forecast App is great. You can set it up to send you notifications if there will be a strong Aurora storm visible in your area.
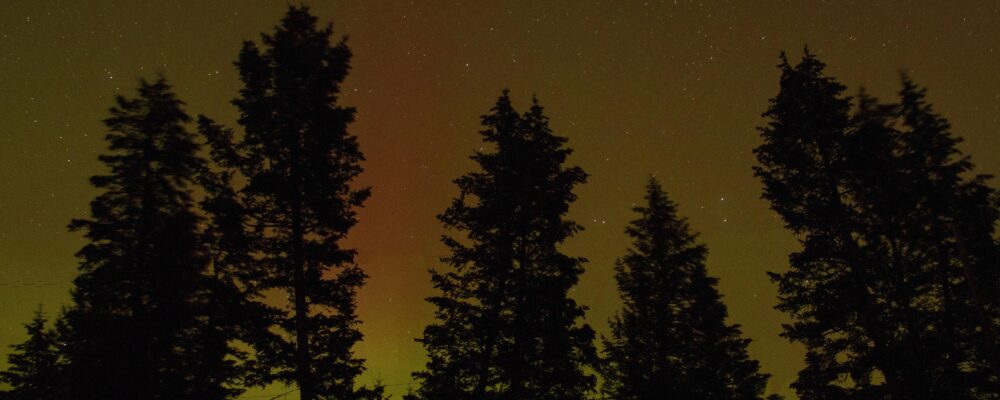
There’s a lot of opportunity in enhancing your compositions. Muse on integrating foreground elements such as trees, mountains, or even buildings that add depth and a sense of scale to your images. A silhouette of a lone tree or the reflection of the auroras in a tranquil lake can turn a good photo into a great one.
Mastering long exposures is another turning point. Striking a balance between ISO settings, aperture, and shutter speed is crucial. It’s your dance floor where you choreograph the light. Remember, your first attempt doesn’t need to be your last. The auroras are unpredictable, so you can always adjust your approach down the road.
You can use your newer cell phone cameras in night mode, to capture the northern lights. A note on this is that you will need to have your phone on a tripod or some stable surface and you will be amazed at what you will be able to capture.
Now, if you’re in the Arctic chill, fighting off the cold is more than just personal comfort; it’s about protecting your gear too. Batteries drain faster, and frost can form on your equipment. Keep spare batteries warm and close to your body and use insulated covers for your camera if necessary. Remember your camera lens will stay clear going from warm to cold so it is best to leave it outside if you need to come into a warm place to warm up. Just remember once your done shooting for the night and come in with your gear that you wipe it down as the condensation begins. Leave your lens on the camera.
Lastly, post-processing isn’t cheating; it’s part of the art. Your raw images will contain all the data needed to bring out the brilliance of the lights. Adjust the contrast, tweak the colors, and play with the exposure to transform your shots from what’s caught in-camera to the marvel you’ve witnessed with your own eyes. All your doing is enhancing the colors hidden from they eye.
And, for a dash of wisdom, reach out to the aurora photography community. Seasoned photographers are usually more than willing to share stories and advice. Their insights can provide shortcuts to your learning curve and inspire you for your next photographic adventure.
To wrap up, going beyond the basics in Northern Lights photography is a journey of continuous learning and adaptation. Whether it’s deciphering the science behind the auroras, braving freezing temperatures, or finessing your images in post-production, each step takes you closer to capturing the majesty of the night sky. I really hope that your Northern Lights images light up the world with their spectral beauty.